Keeping your car clean goes beyond just vacuuming the floors or washing the exterior. The seats inside your vehicle take a lot of wear and tear. Spills, dirt, crumbs, and everyday use can lead to stains, odors, and damage over time. That’s why learning how to clean car seats is important not just for appearances but also for maintaining your car’s value and hygiene.
In this guide, you’ll learn how to clean different types of car seat materials, including cloth, leather, vinyl, and even suede. We’ll go step-by-step through the tools and products you’ll need, how to remove stains, and how to prevent damage. Whether you’re doing a full interior detail or just spot cleaning, this guide will make it easy to get professional-level results at home.
Tools & Supplies You’ll Need
Before you start, gather your cleaning tools. These will vary slightly depending on your seat material, but here’s a general list:
- Vacuum cleaner with hose attachment
- Microfiber cloths
- Soft-bristled brush or upholstery brush
- Spray bottle (for homemade solutions)
- Mild dish soap
- White vinegar
- Baking soda
- Leather cleaner/conditioner (for leather seats)
- Car upholstery cleaner (optional)
Having these supplies ready will make the process smoother and help you get better results.
How to Clean Cloth Car Seats

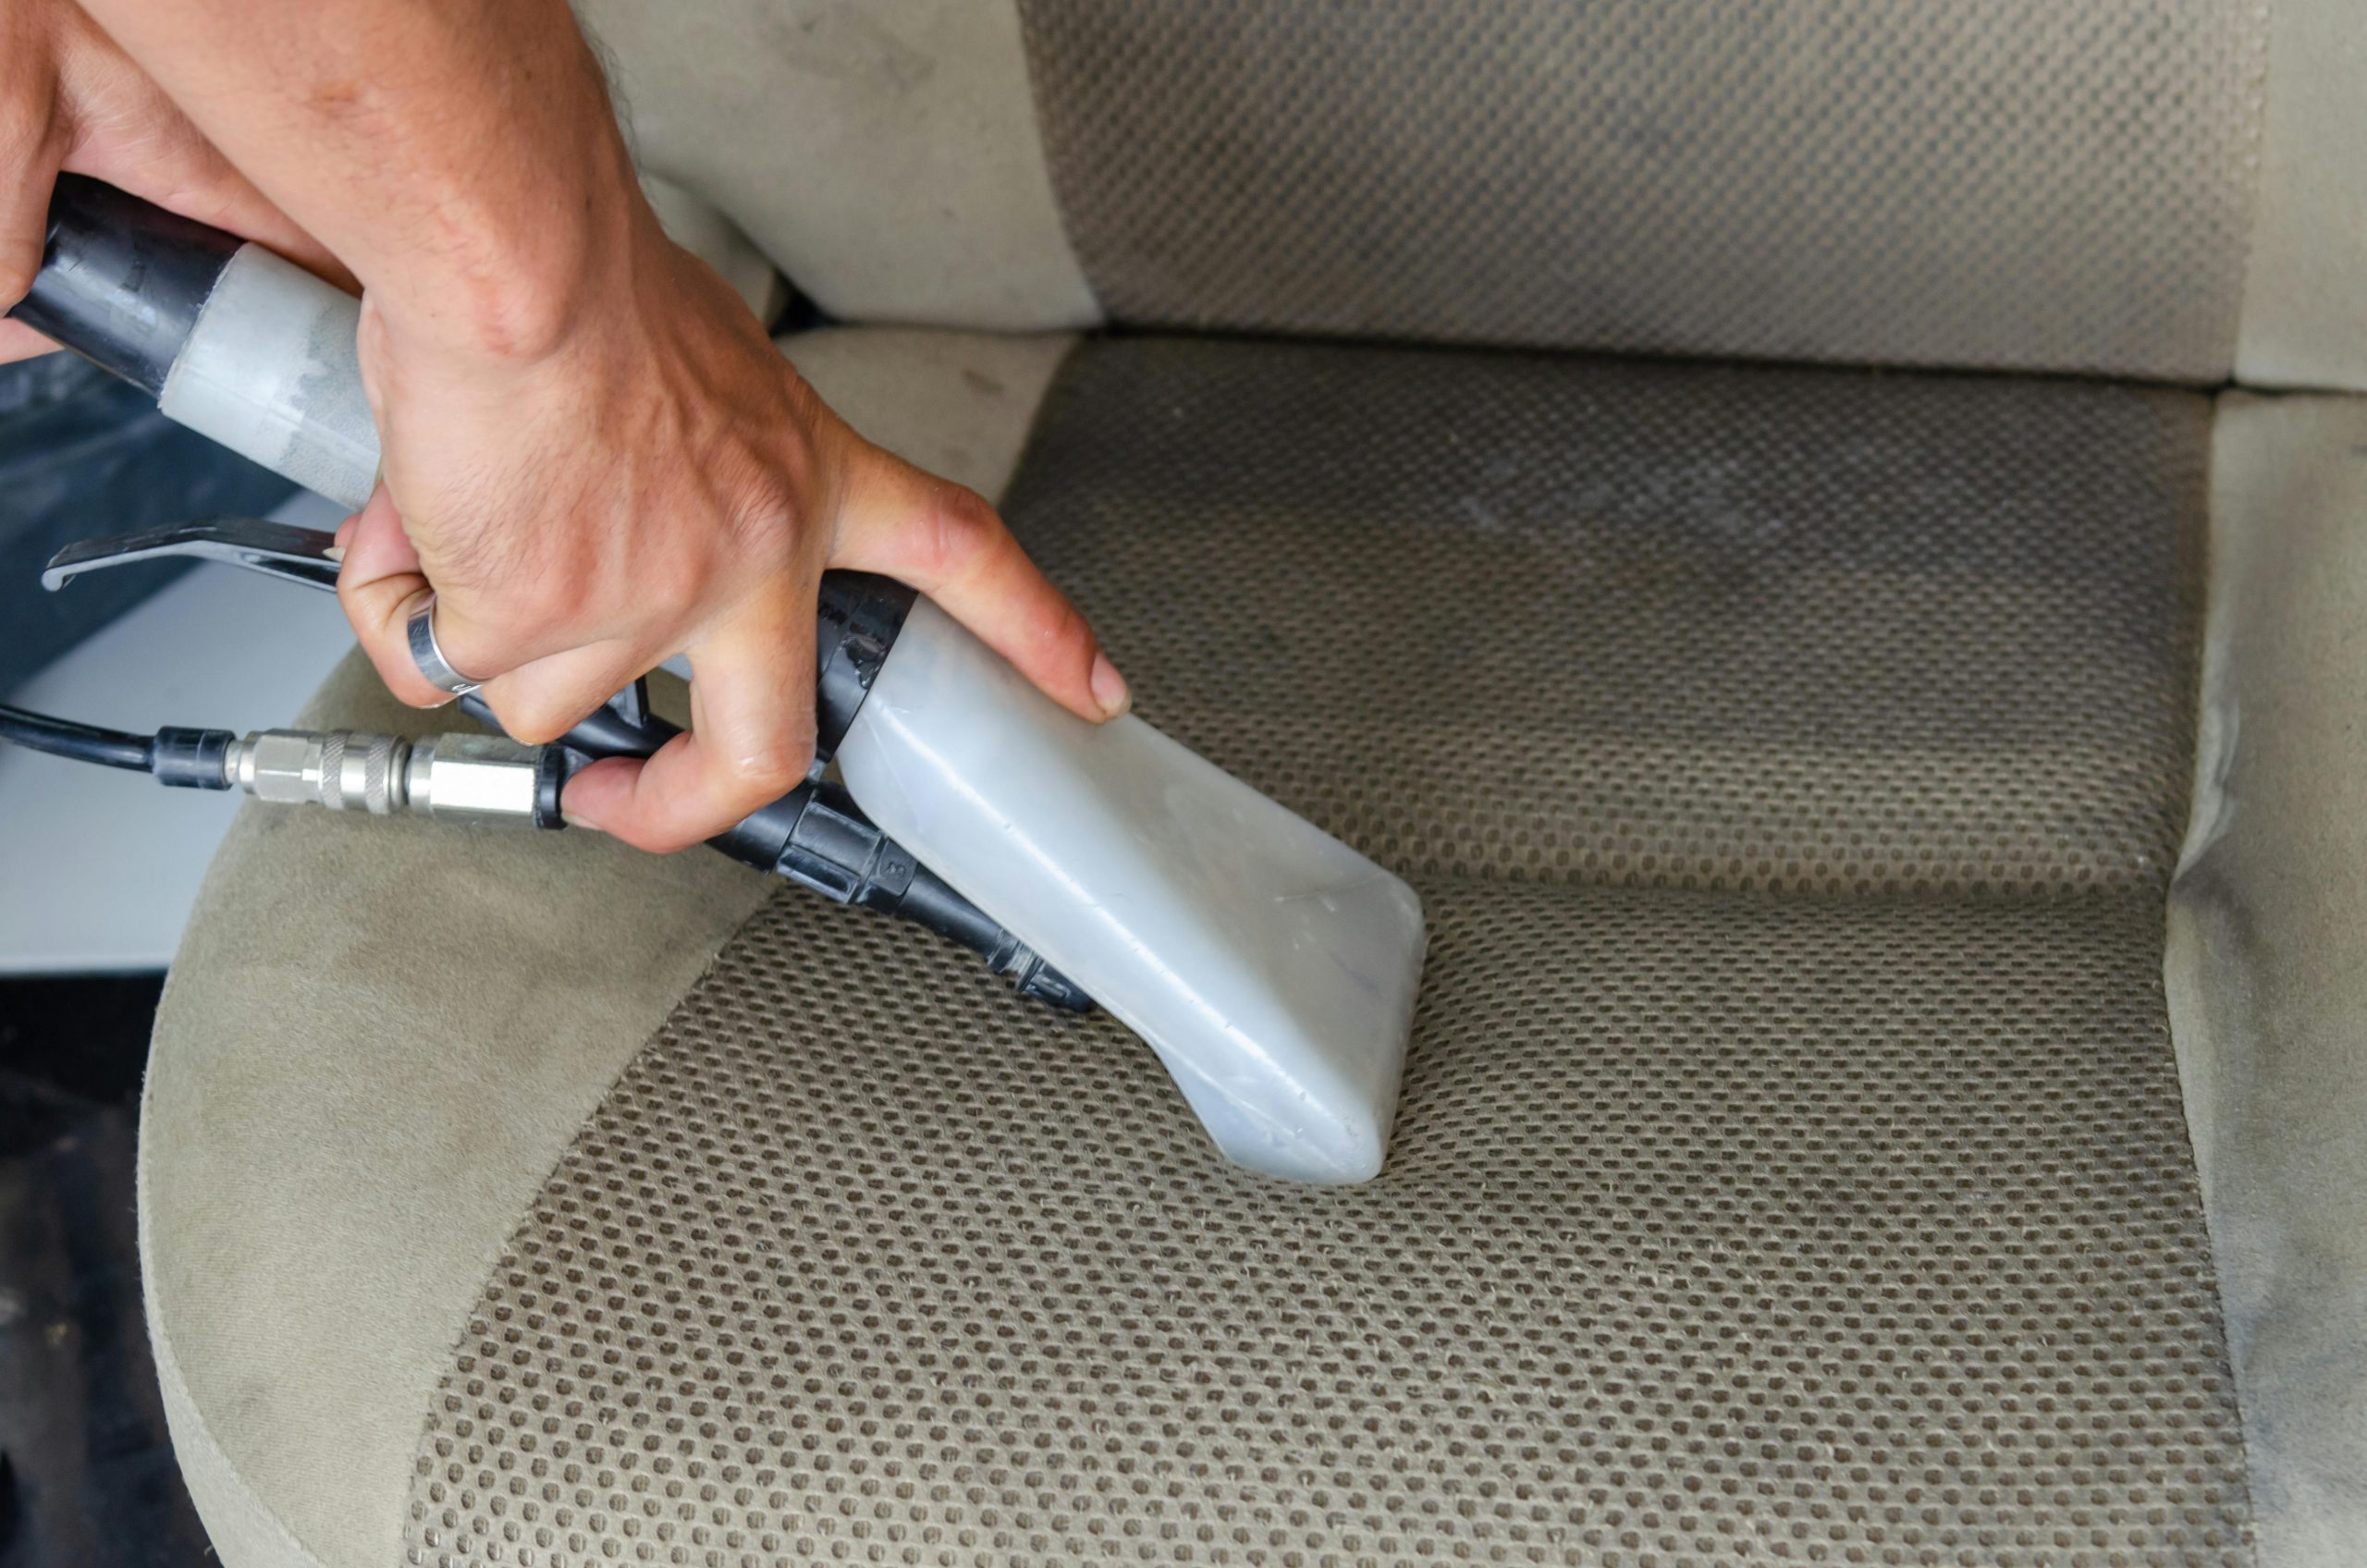
Cloth or fabric car seats are popular because they’re soft, breathable, and comfortable. However, they tend to soak up spills, stains, and odors more easily than other materials. Regular cleaning helps maintain their appearance and keeps your car smelling fresh. Here’s how to clean cloth car seats step by step:
Step 1: Vacuum the Seats
Start by vacuuming your seats thoroughly. Use a vacuum with a hose and brush attachment to lift loose dirt, crumbs, hair, and dust. Pay close attention to seams, cracks, and the area between the seat and backrest—these spots collect debris over time. Removing surface dirt first prevents it from turning into mud when you add moisture during cleaning.
Step 2: Pre-Treat Stains
If you see stains, apply a fabric-safe upholstery cleaner or a homemade mix of equal parts water and white vinegar. Spray lightly over the stained areas and let it sit for 5–10 minutes. This helps break down the stain so it’s easier to scrub away. Test any cleaner on a hidden part of the seat first to make sure it doesn’t cause discoloration.
Step 3: Scrub Gently
Use a soft-bristled brush or sponge to gently scrub the fabric. Work in circular motions to lift dirt and stain particles. Avoid over-saturating the seat, as too much moisture can lead to mold or mildew.
Step 4: Wipe with a Damp Cloth
Dampen a microfiber cloth with clean water and blot the scrubbed areas. This helps remove leftover cleaner and loosened grime. Rinse and wring out the cloth often to avoid spreading dirt.
Step 5: Let it Dry
Open the doors or windows for airflow, or park in direct sunlight. Allow the seats to dry completely before sitting on them. A portable fan can also speed up drying indoors.
How to Clean Leather Car Seats
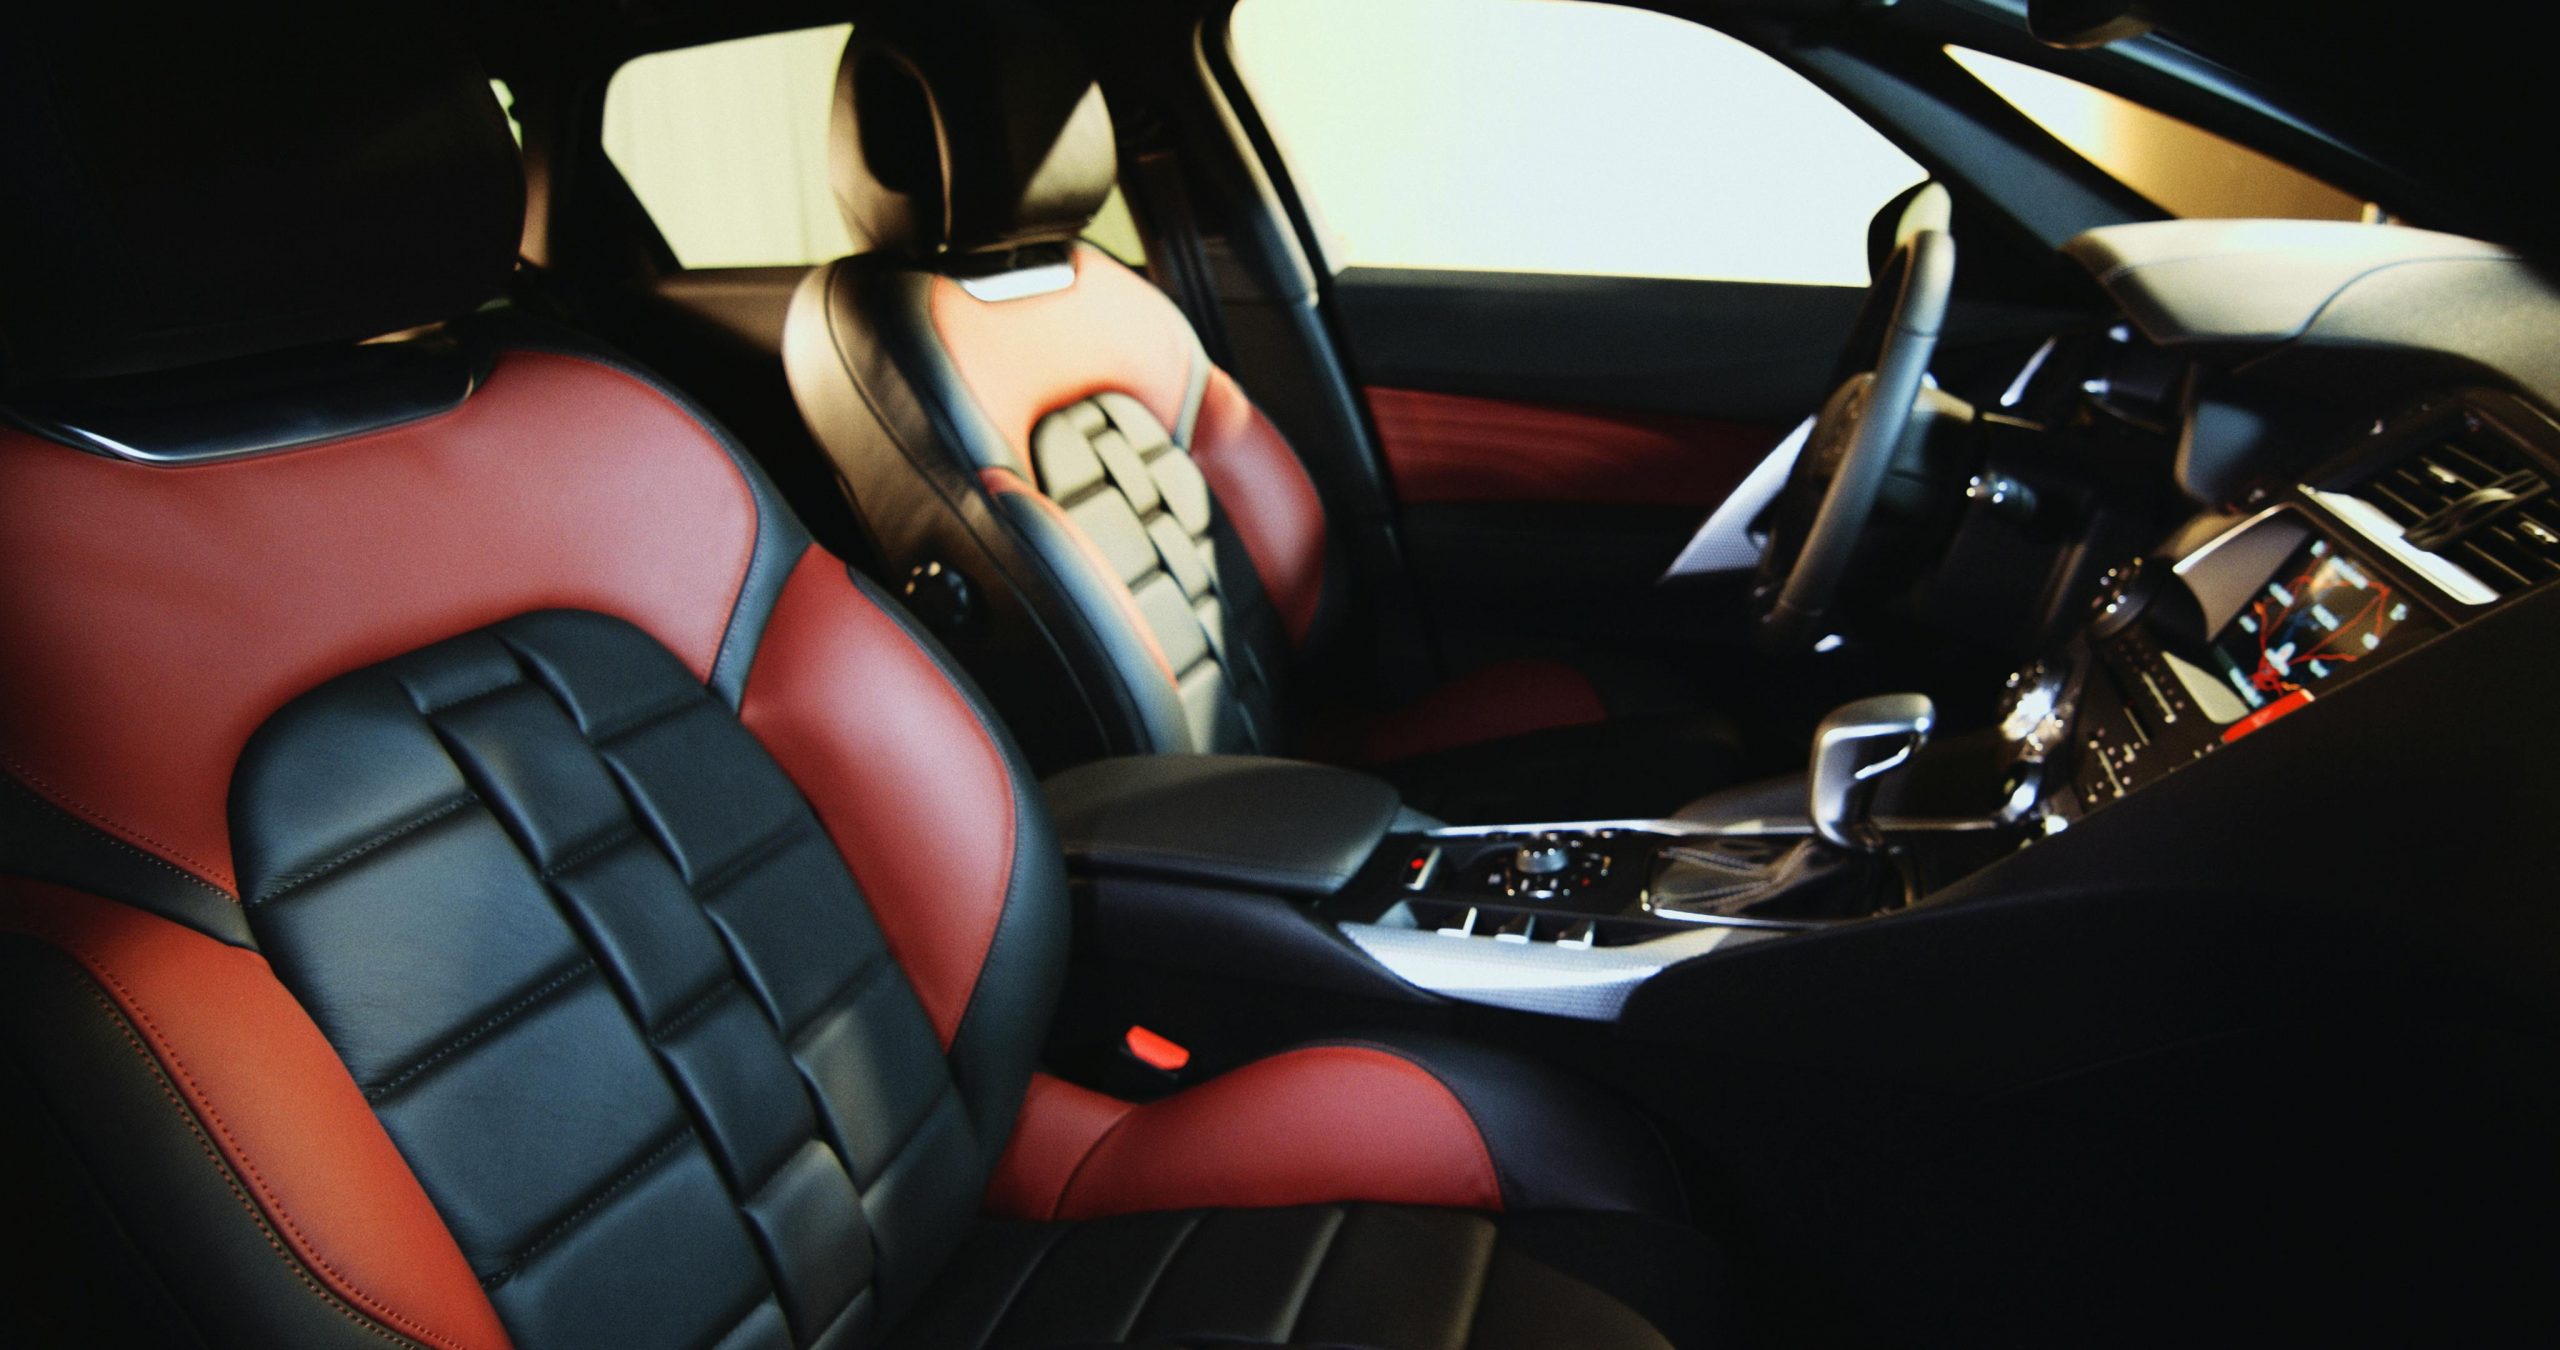
Leather car seats bring a touch of luxury and style to your vehicle, but they need proper care to stay in great shape. Without regular cleaning and conditioning, leather can dry out, crack, or fade over time—especially if exposed to sunlight or temperature changes. Here’s a step-by-step guide to help you clean leather seats safely and effectively.
Step 1: Vacuum First
Start by vacuuming the leather seats using a soft brush attachment. This removes crumbs, dirt, and other debris that could scratch the surface while cleaning. Be sure to get into the creases and seams, where dirt often hides. Gentle vacuuming is essential—never use a hard or rough attachment, as leather can be easily damaged.
Step 2: Use Leather Cleaner
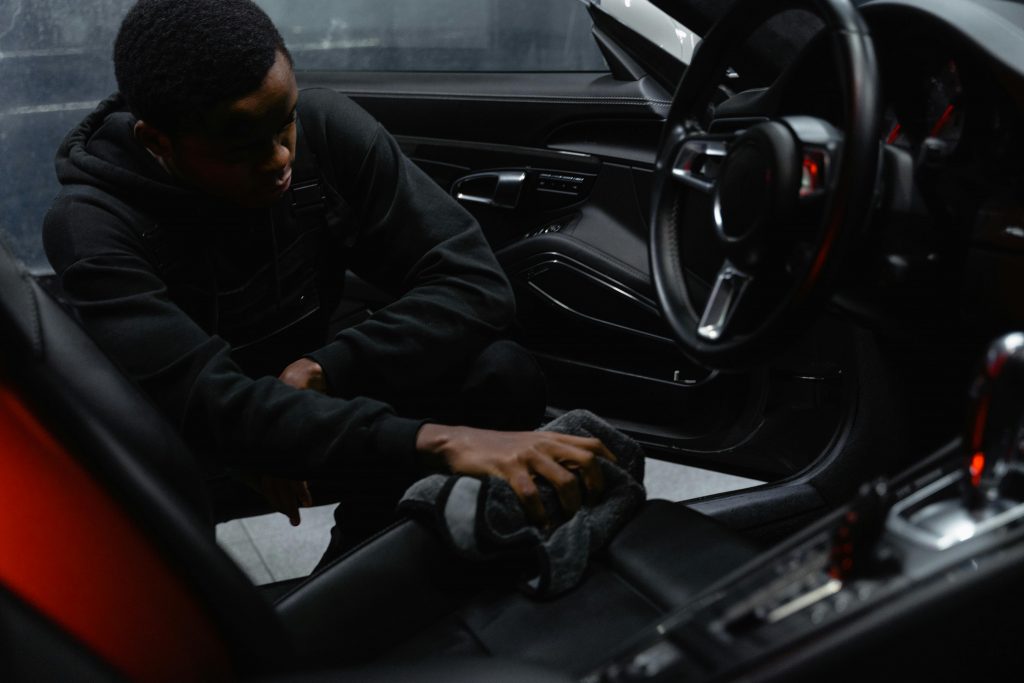
Choose a cleaner made specifically for leather. Spray a small amount onto a clean microfiber cloth, not directly on the seat, to avoid oversaturating the leather. Gently wipe down the seat, working section by section. Focus on areas with visible dirt or spots where your body makes frequent contact, like seat edges and backrests.
Step 3: Scrub Gently
For stubborn grime or buildup, use a soft-bristled brush. Scrub lightly using circular motions, especially on textured or perforated areas where dirt can hide. Avoid pressing too hard—leather is tough but still needs gentle care. Always test cleaners and brushes on a hidden spot first to make sure they won’t cause damage.
Step 4: Wipe Off Cleaner
After scrubbing, take a separate clean, dry microfiber cloth and gently wipe off any leftover cleaner. Make sure no residue remains on the surface, as it can attract dust or make the leather feel sticky. This step also helps the seats dry more quickly.
Step 5: Condition the Leather
Once the seats are clean and dry, apply a leather conditioner to keep the material soft and prevent it from cracking. Use a small amount and rub it in evenly with another clean cloth. Let the conditioner soak in for the time recommended by the product instructions. Conditioning not only extends the life of your seats but also keeps them looking shiny and smooth.
Regular care, ideally every few months, will keep your leather car seats looking and feeling like new.
How to Clean Vinyl Car Seats

Vinyl car seats are known for being tough, water-resistant, and easy to care for. However, without regular maintenance, they can still crack, fade, or become sticky over time. Cleaning them properly not only keeps your car looking fresh but also extends the life of the vinyl. Here’s a simple guide to help you clean vinyl seats the right way.
Step 1: Vacuum and Dust
Begin by vacuuming the seats to remove loose dirt, crumbs, and dust. Use a soft brush attachment to avoid scratching the surface. Pay attention to seams and tight areas where debris tends to settle. After vacuuming, go over the entire surface with a dry microfiber cloth to pick up any remaining particles. This helps prevent dirt from smearing or scratching the vinyl during the cleaning process.
Step 2: Clean with Mild Soap
In a bucket or bowl, mix warm water with a few drops of mild dish soap. Avoid harsh cleaners that contain bleach or ammonia, as they can damage the vinyl surface. Dip a clean microfiber cloth into the soapy solution, wring it out well, and gently wipe down the seat. Focus on one section at a time and avoid over-wetting the material to prevent water from seeping into seams.
Step 3: Scrub Gently
If there are sticky spots or light stains, use a soft-bristled brush or an old toothbrush. Gently scrub the area in small, circular motions. Vinyl can handle light scrubbing, but it’s still best to be cautious to avoid causing scratches. Always test any cleaning method on a small, hidden area first.
Step 4: Rinse and Dry
After cleaning, use a separate damp microfiber cloth to wipe away any soap residue. Make sure to remove all cleaner to prevent streaks or buildup. Follow up with a dry cloth to thoroughly dry the surface. Leaving vinyl damp can lead to mildew or water marks, especially in humid conditions.
Step 5: Use Vinyl Protectant
To help protect the vinyl from UV rays, drying, and cracking, apply a high-quality vinyl protectant. Spray a small amount onto a dry cloth and buff it into the seats. Let it absorb and then wipe off any excess. This not only restores shine but also creates a protective layer to keep your seats looking newer for longer.
Regular cleaning and conditioning every few months will keep your vinyl seats durable, shiny, and comfortable.
How to Clean Suede or Alcantara Car Seats
Suede and Alcantara car seats offer a luxurious, soft texture that adds an upscale look and feel to your vehicle. However, their delicate nature makes them more vulnerable to stains, water spots, and wear. Because these materials are absorbent and easily damaged by harsh chemicals or scrubbing, extra care is needed when cleaning them. Follow these careful steps to keep your seats clean without ruining the fabric.
Step 1: Brush and Vacuum
Start by using a suede brush or a soft microfiber cloth to loosen and lift dirt, dust, and debris from the seat’s surface. Always brush in one direction to avoid damaging the delicate nap of the material. Next, use a vacuum cleaner with a soft brush attachment to gently remove loose particles. Avoid pressing too hard or using high suction, which can flatten or stretch the fabric. Focus on seams and creases where dirt tends to collect.
Step 2: Spot Clean
For stains, avoid soaking the fabric. Instead, use a small amount of white vinegar diluted with water (50/50 ratio) or a specialized Alcantara cleaner. Lightly dampen a clean microfiber cloth with the solution. Carefully dab the stained area—never rub—using gentle, up-and-down motions. Rubbing can push the stain deeper or rough up the material’s texture. If the stain is stubborn, repeat the dabbing process until it fades. Be patient and avoid over-wetting the area.
Step 3: Dry and Brush
Allow the cleaned spot to air dry naturally. Avoid using hair dryers or heat sources, as direct heat can warp or harden the fabric. Once the area is completely dry, use a dry suede brush or a clean cloth to gently fluff and restore the seat’s soft texture. Brush in a consistent direction for a uniform finish. This step helps maintain the plush look that makes suede and Alcantara so appealing.
For regular maintenance, lightly brush and vacuum the seats weekly to prevent buildup. Use protective sprays designed for suede or Alcantara to add a layer of resistance against spills and stains. With gentle care and the right tools, you can keep your suede or Alcantara seats looking fresh and elegant for years to come.
How to Remove Odors from Car Seats
Sometimes your car seats smell even after you clean them. Here’s how to tackle that:
- Baking Soda: Sprinkle a light layer over the seat and let it sit for a few hours. Vacuum it up to remove odors.
- White Vinegar Spray: Mix equal parts vinegar and water in a spray bottle. Lightly mist the seats and let them air dry.
- Activated Charcoal: Place a bag under the seat to absorb smells over time.
Tips for Preventing Future Stains
- Use seat covers: Especially helpful for pets, kids, or long commutes.
- Clean spills immediately: The longer you wait, the harder it is to remove stains.
- Avoid eating in the car: Crumbs and grease can quickly lead to buildup.
- Vacuum regularly: Once a week helps keep dirt and dust from embedding in the fabric.
Common Cleaning Mistakes to Avoid
- Using bleach or harsh chemicals: These can damage upholstery or remove color.
- Soaking the seats: Too much moisture can cause mold and mildew.
- Skipping the vacuum: Dirt particles can scratch or damage the surface during scrubbing.
- Not testing products: Always spot-test cleaners on an inconspicuous area first.
DIY Cleaning Solutions
If you don’t have a store-bought cleaner, you can make one at home.
For Fabric Seats:
- 1 cup of warm water
- ½ cup of white vinegar
- A few drops of dish soap
Mix and spray lightly. Scrub gently and blot dry.
For Leather:
- 1 part white vinegar
- 2 parts linseed oil or olive oil
Apply lightly with a cloth, then buff clean after 10 minutes.
When to Call a Professional
If you’ve tried everything and the stains or smells won’t go away, it may be time to call in a car detailing expert. They have tools and cleaners that go deeper than DIY methods, especially for badly stained or delicate interiors.
Conclusion: Keep Your Car Looking & Smelling Great
Now that you know how to clean car seats, you can keep your car’s interior looking new and feeling fresh without spending a fortune. Regular cleaning prevents long-term damage and helps maintain your vehicle’s value. Whether you have cloth, leather, vinyl, or suede seats, the right tools and techniques can make the job easy and rewarding.
By taking a little time to care for your seats, you’ll create a more pleasant driving experience for yourself and your passengers. So grab your cleaning supplies, pick the right method for your seat type, and give your car the refresh it deserves!

